
So, the worlds cutest nephew (WCN) transitioned to being the worlds cutest Godson/nephew a while ago (this post is really really late, and the WCN in question is now 8 months old and crawling like a mad-man, but I kind of forgot to blog about it all in my post cake baking exhaustion. and I knew it would be long, so it's just been sitting here). Anyhow, I wanted to do something special for the event, and so got recruited to make the cake.
Now, WCN had a very sensitive little tummy, and poor WCN's Mom was on a very restricted diet as a result- this mean no dairy and no soy. She didn't request a cake without those things, but it just seemed like it would be too sad if she couldn't eat the cake. So, a search for an appropriate recipe commenced. A recipe for chocolate avocado cake had been kicking around between some of my fellow bakers and I, so I decided to give it a try.
The stuff:
3c all purpose flour
6 tbsp cocoa powder
.5 tsp salt
2 tsp baking soda
2c sugar
1/4 c vegetable oil (I used canola in one, and coconut oil in another)
1/2c mashed avocado
2c water
2 tsbp white vinegar
2 tsp vanilla extract
What to do with it:
Preheat oven to 350 degrees, grease your pans (either 2 rounds, or 1 9x13)
Sift together dry ingredients, mix wet ingredients, gradually stir dry into wet.
Bake 30-40 min, but defer to a knife or toothpick if you are making a bigger cake.
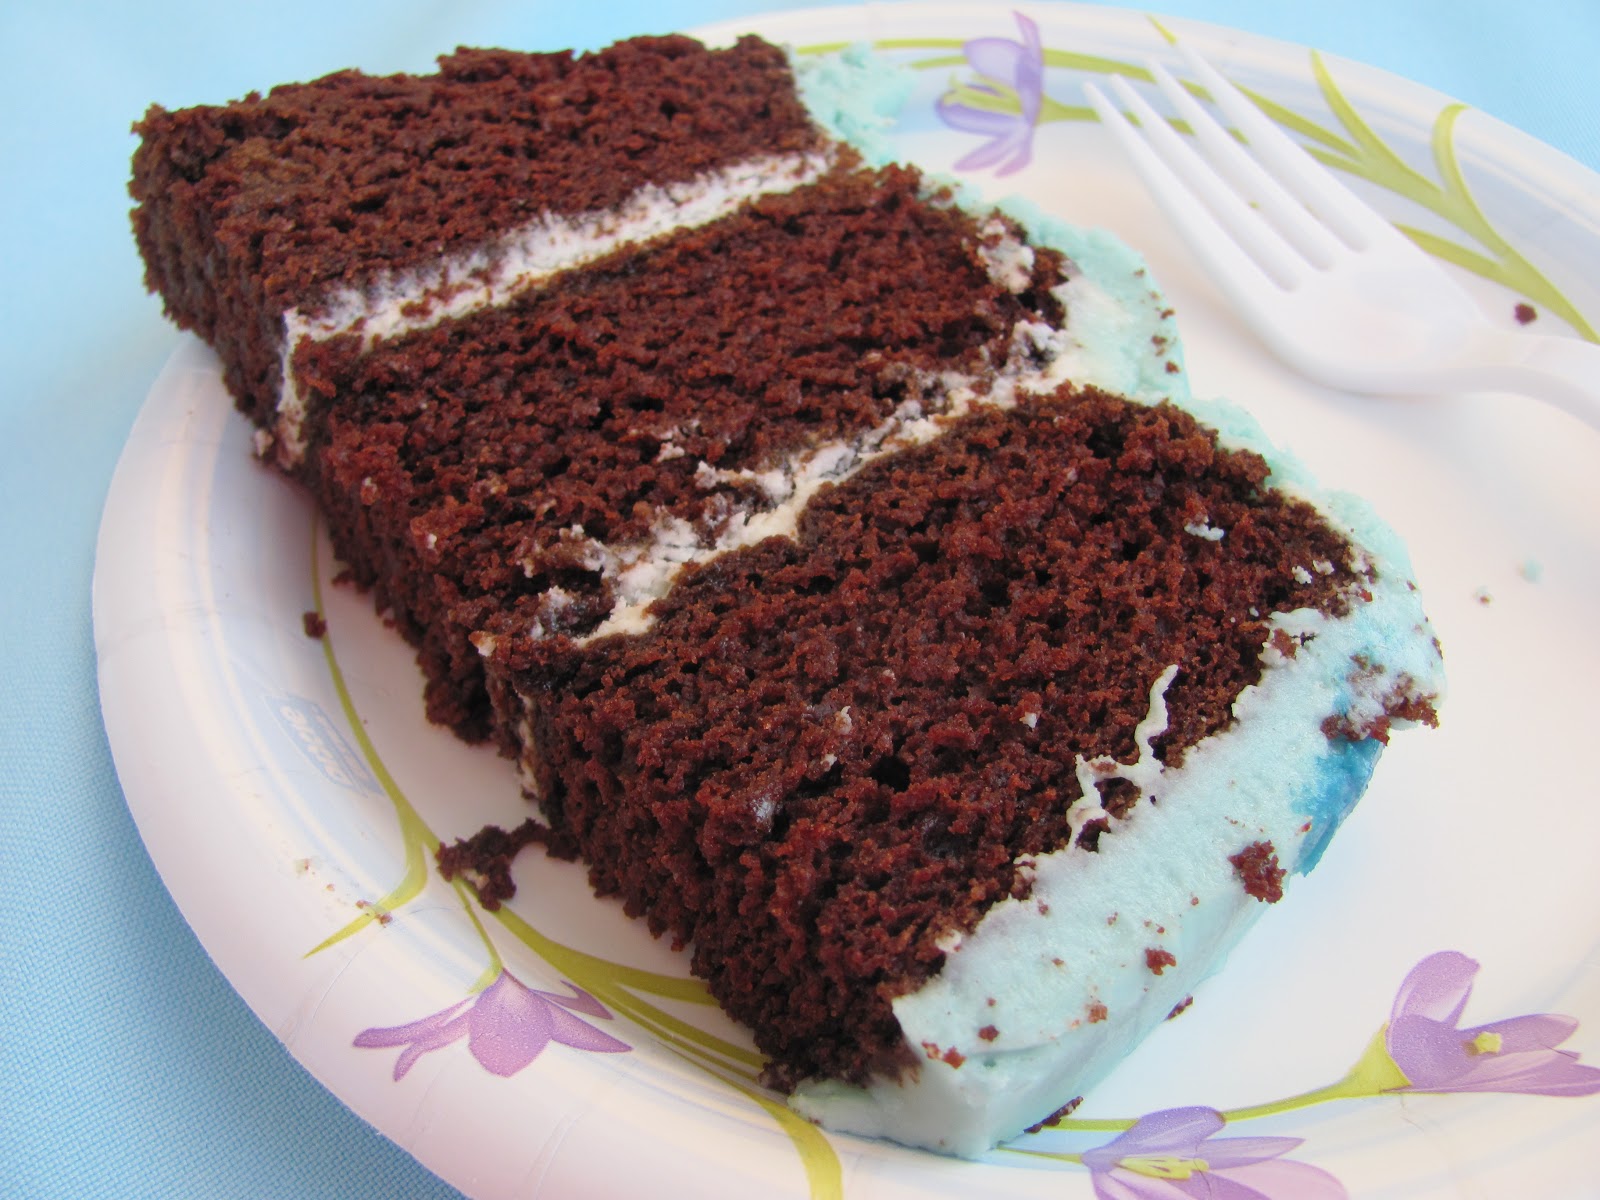
Now, I'm not going to lie... I was so anxious about the avocado component that I test drove this recipe twice, both times not telling anyone about the secret ingredient until after they already decided that they liked it. Because this was not going to a vegan brunch, this was going to a big, carnivorous party, and it was going to be the only cake. It turns out there was no need- this cake is VERY moist and very chocolatey. It's not just a good cake considering the constraints on the ingredients, it's a good cake in any scenario. I would make it again, any time.
In addition to being anxious about the flavor, I also wanted this cake to be big and to be fancy (this was the WCNs big day, after all, and there is a big family involved). So, the first step was to make 3 9x13 layers, because there were a LOT of people coming. This thing weighed a ton.
If you want to know how I came up with that amount, I used a handy-dandy cake portion calculator. There were going to be ~50 people there, and the calculator said that 2 9x13 layers serve 45. I didn't want to be skimpy, so I made 3, but really, there was probably 1/3 of the cake left in the end, because this cake is very rich.
So, step one was to stack the layers up. A smarter person than I am would have sliced off the rounded top of each layer so that they stacked flatly without gaps on the side. I used a lot of frosting filling in those innocent little gaps you see there.

The next step is a crumb layer that can cover the edge of the cake and make a barrier between the cake (and its crumbs) and your fancy frosting layer. This is also when you fill in those gaps.

After the crumb layer was on, I put in some blue food coloring to make it cute.
Now comes a cool trick I learned- I wasn't about to attempt to make fondant, but given that this was supposed to be fancy I wanted the buttercream to be smooth. I learned that the trick you do is to use paper towels. It sounds weird, but it totally works. Now, if you want completely flat buttercream you need completely flat paper towels, which is actually harder than you think. Viva brand paper towels are totally flat though, so just go for those. If you find a design you like, you can actually make little imprints in the frosting. Of course, I was not about to try this out on the actual cake without testing it first (and, I'm a scientist! obviously I had to test both methods). So, before putting the higher layers on, I tried it on layer 1. These pictures are not that great, but it was almost midnight at this point, so lets just say that lighting was not my top priority.

Basically what you are doing here is "ironing" the frosting, so get something flat. I'm sure there is something more more professional than a tea box, but, it works. Side note- that's my favorite tea.

This is the "viva" paper towel version- so flat!

This is the regular paper towel version, I think this pattern could actually be kind of cool but it would be REALLY hard to implement it well, in terms of matching up seams, getting it even, etc. (also, you can see here that the earth balance buttercream is starting to break down, this is right before I started over with that).
So, after frosting it with blue frosting, 'ironing' it, I made some darker frosting and put it on using a pastry bag. And here it is!

AND... noooobody had any idea about the avocado, my sister and law could eat it, and everyone was happy!
To sum up an excessively long post:
1. this cake recipe is delicious, and I would try it whether or not it needed to be vegan
2. this technique for making buttercream frosting smooth works- it doesn't look like fondant, but it does look better than regular buttercream
3. nephew status: successfully baptized, and adorable
No comments:
Post a Comment